Android ImageButton 图片按钮
ImageButton 其实和 Button 类似,差别只在于 ImageButton 显示图片而不是文字
ImageButton 继承自 ImageView ,所以 ImageButton 可以像 ImageView 那样使用 android:src 来添加图片
ImageButton
ImageButton 可以根据用户按下或点击的的动作显示不同的图像
默认情况下,ImageButton 看起来像一个常规的 Button, ImageButton 显示的图像可以使用属性 android:src 或 setImageResource(int) 方法来添加
如果想要要移除 ImageButton 背景图像,可以使用 android:background 定义自己的背景图像或将背景颜色设置为透明
我们写一个 demo 来演示下 ImageButton
-
创建一个 空的 Android 项目
cn.twle.android.ImageButton -
下载图片资源 /static/i/android/imagebutton.zip 并放到
res/drawable目录下 -
修改
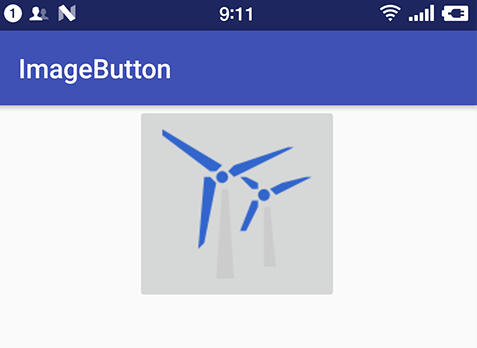
activity_main.xml添加一个 <ImageButton><?xml version="1.0" encoding="utf-8" ?> <LinearLayout xmlns:android="http://schemas.android.com/apk/res/android" android:layout_width="match_parent" android:layout_height="match_parent" android:gravity="center" android:orientation="vertical" > <ImageButton android:src="@drawable/windpower" android:layout_width="wrap_content" android:layout_height="wrap_content" /> </LinearLayout>
运行 demo 效果如下

不同状态下的 ImageButton
ImageButton 如果要指示不同的按钮状态 (按下,选定等),可以为每个状态定义不同的图像
例如,默认情况下为蓝色图像,聚焦时为橙色图像,按下时为黄色
我们可以使用 selector drawable 资源来做到这一点
<?xml version="1.0" encoding="utf-8"?>
 <selector xmlns:android="http://schemas.android.com/apk/res/android">
     <item android:state_pressed="true"
           android:drawable="@drawable/button_pressed" /> <!-- pressed -->
     <item android:state_focused="true"
           android:drawable="@drawable/button_focused" /> <!-- focused -->
     <item android:drawable="@drawable/button_normal" /> <!-- default -->
</selector>
把上面的内容保存到 res/drawable/btn_selector.xml 然后就可以使用 android:src 属性指向它们了,Android 会根据按钮的状态和 XML 中定义的相应图像自动更改图像
注意: <item> 的顺序很重要,一定要把 正常 的图片放在最后, 因为它们是按照顺序来进行匹配的
我们来写一个 demo 实现 ImageButton 的各种状态
-
复用上面的 demo
-
在
res/drawable目录下新建一个文件btn_selector.xml用来定义 ImageButton 的各种状态背景<?xml version="1.0" encoding="utf-8"?> <selector xmlns:android="http://schemas.android.com/apk/res/android"> <item android:state_pressed="true" android:drawable="@drawable/good_pressed" /> <!-- pressed --> <item android:state_focused="true" android:drawable="@drawable/good_focused" /> <!-- focused --> <item android:drawable="@drawable/good_normal" /> <!-- default --> </selector>
-
修改
activity_main.xml将 ImageButton 的android:src属性指向btn_selector<?xml version="1.0" encoding="utf-8" ?> <LinearLayout xmlns:android="http://schemas.android.com/apk/res/android" android:layout_width="match_parent" android:layout_height="match_parent" android:gravity="center" android:orientation="vertical" > <ImageButton android:src="@drawable/btn_selector" android:layout_width="wrap_content" android:layout_height="wrap_content" /> </LinearLayout>
运行 demo 效果如下