Android RatingBar 星级评分条
Android RatingBar (星级评分条), 见名思义,就是显示一个评分条的,比如滴滴的五星好评

RatingBar
RatingBar 继承自 ProgressBar ,因此可以使用 XML 来创建
<RatingBar
    android:layout_width="wrap_content"
    android:layout_heighit="wrap_content"
    android:numStarts="5"
    android:rating="4.5"
    android:stepSize="0.5" />
下面我们就来创建一个基本的 RatingBar 吧
-
创建一个 空的 Android 项目
cn.twle.android.RatingBar -
修改
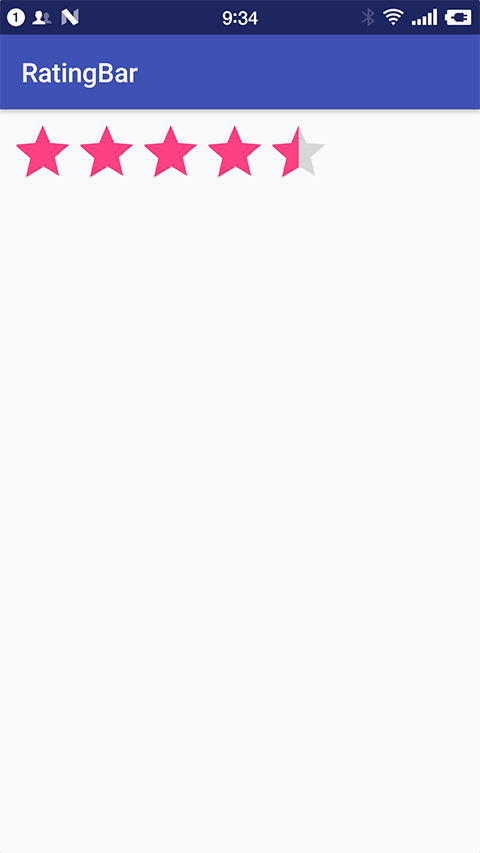
activity_main.xml文件添加一个RatingBar<?xml version="1.0" encoding="utf-8" ?> <LinearLayout xmlns:android="http://schemas.android.com/apk/res/android" xmlns:tools="http://schemas.android.com/tools" android:layout_width="match_parent" android:layout_height="match_parent" android:padding="8dp" android:orientation="vertical" > <RatingBar android:id="@+id/ratingbar" android:layout_width="wrap_content" android:layout_height="wrap_content" android:numStars="5" android:rating="4.5" android:stepSize="0.5" /> </LinearLayout>
运行结果如下
RatingBar 属性
| 属性 | 说明 |
|---|---|
| android:isIndicator | 是否用作指示,用户无法更改,默认 false |
| android:numStars | 显示多少个星星,必须为整数 |
| android:rating | 默认评分值,必须为浮点数 |
| android:stepSize | 评分每次增加的值,必须为浮点数 |
RatingBar 样式
RatingBar 样式除了默认的样式外,还提供了两个样式,不过都不推荐使用,因为,太丑
style="?android:attr/ratingBarStyleSmall"
style="?android:attr/ratingBarStyleIndicator"
RatingBar 事件
RatingBar 会在评分时触发 OnRatingBarChangeListener 事件,可以重写 onRatingChanged()
获得 RatingBar 的值
我们可以通过给 RatingBar 添加一个事件 OnRatingBarChangeListener 事件,然后重写 onRatingChanged() 来获得它的当前值
-
复用上面的 demo
-
修改
MainActivity.java给RatingBar添加 OnRatingBarChangeListener 事件package cn.twle.android.ratingbar; import android.content.Context; import android.support.v7.app.AppCompatActivity; import android.os.Bundle; import android.widget.RatingBar; import android.widget.Toast; public class MainActivity extends AppCompatActivity { private RatingBar ratingbar; @Override protected void onCreate(Bundle savedInstanceState) { super.onCreate(savedInstanceState); setContentView(R.layout.activity_main); ratingbar = (RatingBar) findViewById(R.id.ratingbar); ratingbar.setOnRatingBarChangeListener(new RatingBar.OnRatingBarChangeListener() { @Override public void onRatingChanged(RatingBar ratingBar, float rating, boolean fromUser) { Toast.makeText(MainActivity.this, "rating:" + String.valueOf(rating), Toast.LENGTH_SHORT).show(); } }); } }
定制 RatingBar
我们使用 SeekBar 的时候都喜欢定制它,比如用自己的星星或则赞图标
-
复用上面创建的 demo
-
下载 /static/i/android/ratingbar.zip 并解压到
res/drawable目录 -
然后创建一个
RatingBar的轨道 Drawableratingbar_full.xml<?xml version="1.0" encoding="utf-8"?> <layer-list xmlns:android="http://schemas.android.com/apk/res/android"> <item android:id="@android:id/background" android:drawable="@drawable/ratingbar_normal" /> <item android:id="@android:id/secondaryProgress" android:drawable="@drawable/ratingbar_normal" /> <item android:id="@android:id/progress" android:drawable="@drawable/ratingbar_pressed" /> </layer-list>
-
修改
styles.xml添加 RatingBar Style<resources> <!-- Base application theme. --> <style name="AppTheme" parent="Theme.AppCompat.Light.DarkActionBar"> <!-- Customize your theme here. --> <item name="colorPrimary">@color/colorPrimary</item> <item name="colorPrimaryDark">@color/colorPrimaryDark</item> <item name="colorAccent">@color/colorAccent</item> </style> <style name="roomRatingBar" parent="@android:style/Widget.RatingBar"> <item name="android:progressDrawable">@drawable/ratingbar_full</item> <item name="android:minHeight">32dip</item> <item name="android:maxHeight">32dip</item> </style> </resources>
-
修改
activity_main.xml设置RatingBar的样式 最后在布局中的 Ratingbar 组件设置下<?xml version="1.0" encoding="utf-8" ?> <LinearLayout xmlns:android="http://schemas.android.com/apk/res/android" xmlns:tools="http://schemas.android.com/tools" android:layout_width="match_parent" android:layout_height="match_parent" android:padding="8dp" android:orientation="vertical" > <RatingBar android:id="@+id/ratingbar" style="@style/roomRatingBar" android:layout_width="wrap_content" android:layout_height="wrap_content" android:numStars="5" android:rating="4.5" android:stepSize="0.5" /> </LinearLayout>